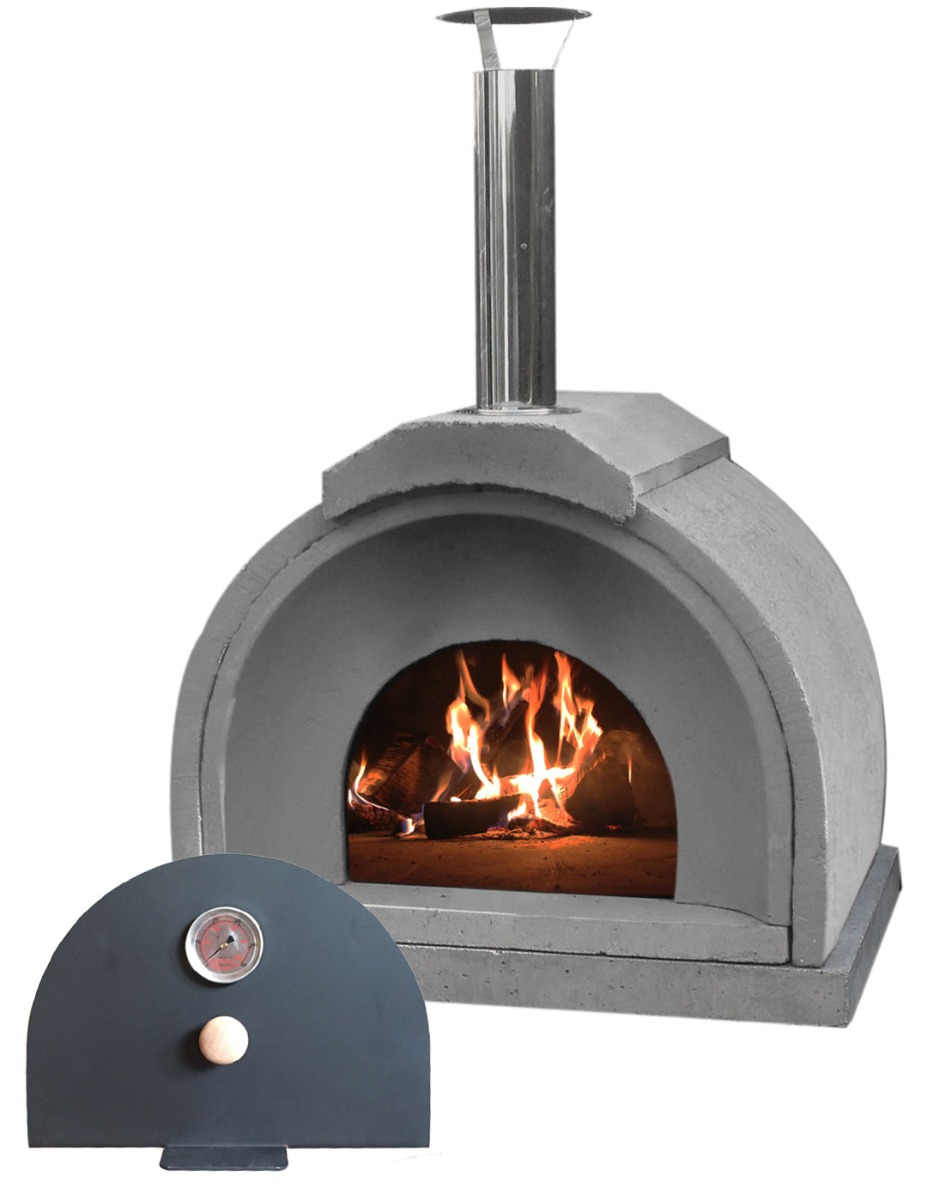
After a few pizza gatherings, it is easy to miss a change that occurs gradually. A crumbling joint or a wet mark under the housing deserves attention before the next lighting. Perform the July inspection on a cold oven, when surfaces can be compared without haste.
Go back to pre-season photos
Inspect the entrance, bottom, and accessible chamber joints. In the Vitcas Casa oven, keep the layout provided by the manufacturer. Photograph the same places from a similar distance; a photo of the whole garden says little about a change in a single joint.
Record whether the defect remains the same or has appeared since the last inspection. Also check the doors and the equipment support. A loose element requires identifying the cause before it is covered with new material.
Differentiate between the joint and the insulation
Outdoor Oven Cement is used for the described external refractory connections. The mortar is selected based on the geometry of the repair and the substrate, not the colour of the old filling. If the connection moves during inspection, first assess its support.
ceramic fibre blanket serves as insulation. It does not replace the joint or external protection against rain. If damage is suspected, check the available cross-section and layer covering instead of unnecessarily dismantling the entire chamber.
Schedule the repair between gatherings
Take into account surface preparation, curing and drying of the product, as well as the method of reheating the equipment. The timing of the next baking should result from the completion of these stages. A hot, dry day does not automatically shorten all material requirements.
After cooling, return to the marked areas and add the result to the notes. A recurring defect indicates the need for a broader assessment of the design or operation. Regular brief photo comparisons are then more useful than further random corrections.